Model guides
Getting started: Basic level
2 Model account
Now, what do we do next? 😉
We have to activate the account as a Model Account to be able to broadcast on the site. To do this, the first thing we have to do is to go to Manage account, this option can be found by clicking on the username at the top right corner of the site.
Once in Manage account, on the left side, let’s locate the Documents section and check the information in the subsection that says “Be a model” which indicates the requirements that we need to have for the account to become a Model account:
- Have an approved Authorized Person.
- Have a signed Independent Model Agreement.
- Have a validated email address.
Also, we’ll see an ❌ for the requirements yet to be met or ✅ for the requirements that have already been met. By having them all ✅, the account will now be a Model account and then it’s show time!
First requirement: Authorized Person
To upload an Authorized Person in the same Documents section, we’ll see the sub-section “Persons authorized to broadcast and/or to withdraw funds“. There, we have to click on the “Add authorized person” button.

- First name and last name(s). We have to write all first names and all last names, in that order, first the first names and then the last names.
- Date of birth. Select year/month/day.
- ID number. Enter the ID/Passport number. Only numbers, no spacing or special characters.
- Country issued by. Select the country in which the ID/Passport was issued.
- We gotta upload the three images requested. The first image is of the front of the ID, the second is of the back of the ID and the third image is a selfie where we’ll need to hold the ID with both hands plus a sign where we’ve written the account username and the effective date.
It’ll take a few minutes for the corresponding review. If the ID is approved, we’ll see it in the subsection as “authorized person for this account“. Also, we’ll receive an email with the Subject “Authorized person for (account username)” indicating that the authorization was successful.

However, if the ID is rejected, it will indicate that it was rejected and we’ll also receive an informative email indicating the reason for the rejection so that we can correct it and try again.
Second requirement: Independent Model Agreement
To sign the Independent Model Agreement, in the same Documents section, we’ll find the “Independent Model Agreement” subsection, click on it and press the “Sign agreement” button.

- Select the authorized person.
- Enter the email address.
Also, there’s the “Download” option to have the agreement available when needed. Additionally, the option to “Sign another agreement” is available if we need to use it to add a new Authorized Person to the account, for example to add a partner, a friend, etc., as every Authorized Person must sign their own Independent Model Agreement.
Third requirement: Validate email
To do this, we go to our email inbox, find the message sent from the website with the subject “Complete your registration at amateur.tv“, click on it and then click Confirm your email.

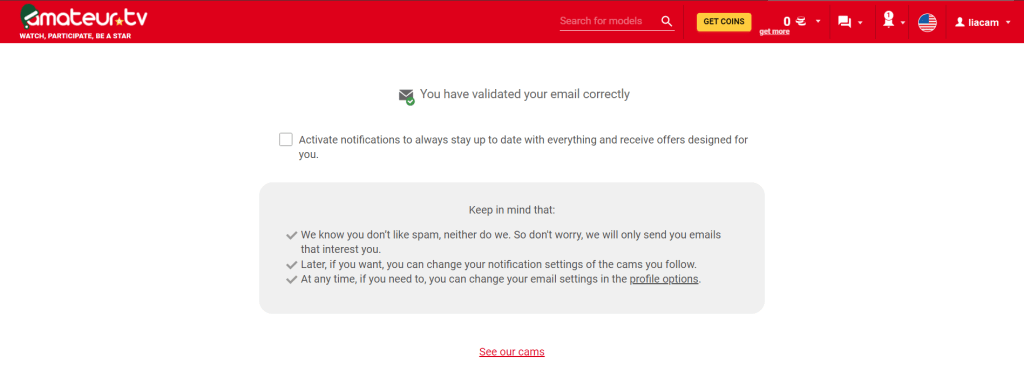
A new tab will automatically open in the browser, which goes to the Amateur.tv page with the session already logged in to our account, confirming that the email has been correctly validated.

After completing all the steps, we’ll receive an email from the website notifying us that we’re models now! Let’s go live!

